Creating a custom psx boot logo
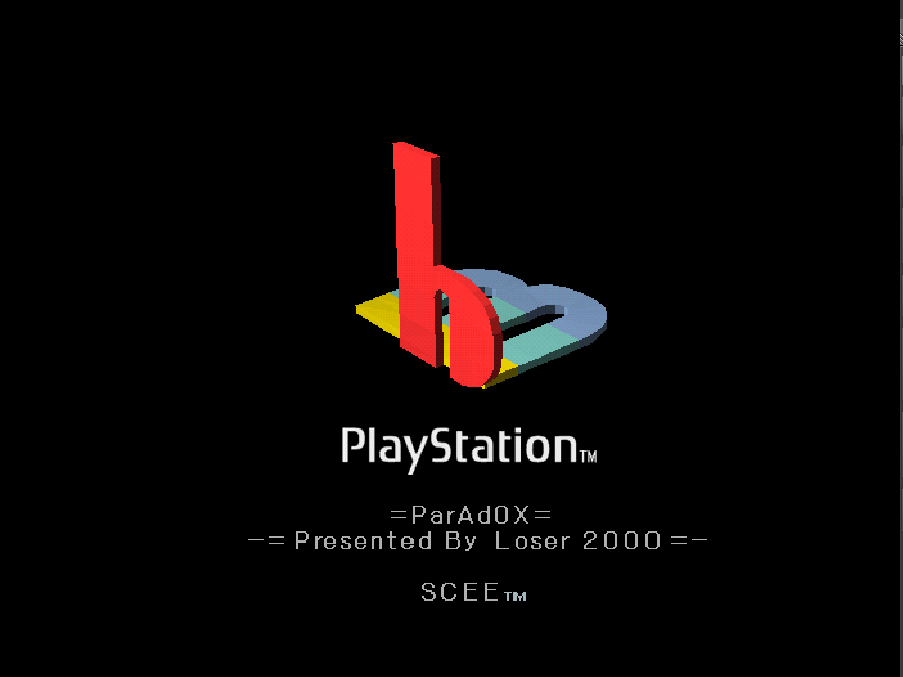
Needed tools :
- PsyQ's utilities :
dxf2rsd.exe,RSDLINK.EXEandrsdtool.exe(aternatively, Lameguy64'ssmxtool) - Dosbox to run the dos program above.
- Blender and optionnaly Lameguy64's Blender RSD plugin
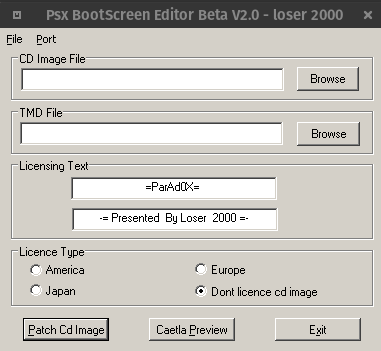
- BootEdit2 available here : http://psx.arthus.net/tools/bootedit2.zip
Steps
Blender model creation
Create a model in blender. Keep your polycount low. For reference, the original psx logo has 560 triangles.
Make sure you only have one mesh in your object !
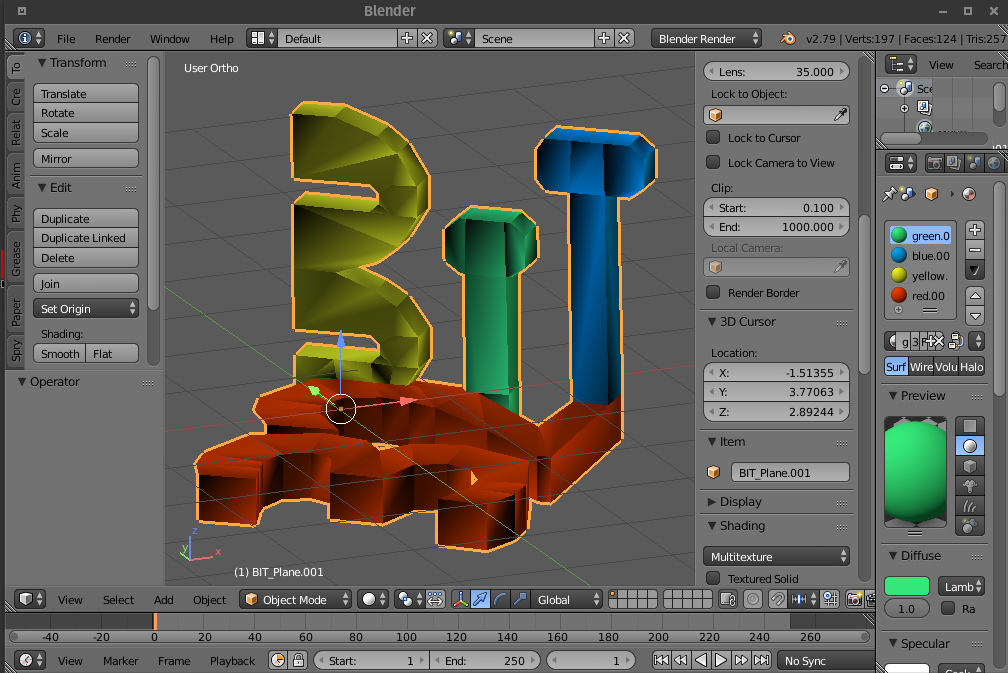
Set shading to "Flat"
Tab into "Edit mode" with your object selected, and make sur your object's faces are set to "Flat" in "Shading".
Use vertex paint for colors
Either use vertex painting directly, or bake the object's materials to vertex color :
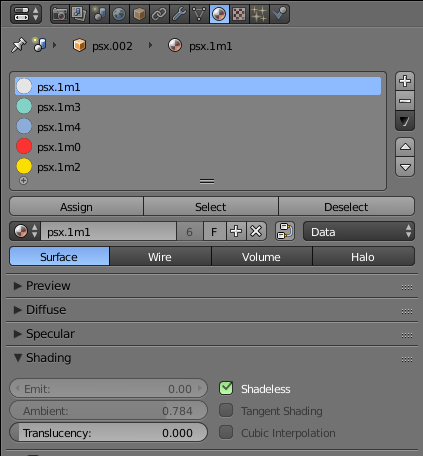
- In the "Material" tab, "Shading" section, check "Shadeless" for each material
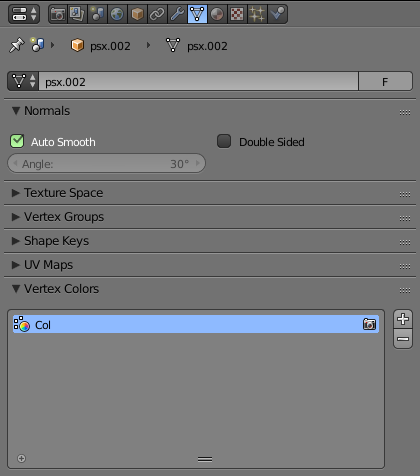
- In the "Data" tab, add a Vertex Color layer in the "Vertex colors" section
- In the "Render" tab, "Bake" section, check "Bake to Vertex Color", then hit "Bake" after making sure your object is selected.
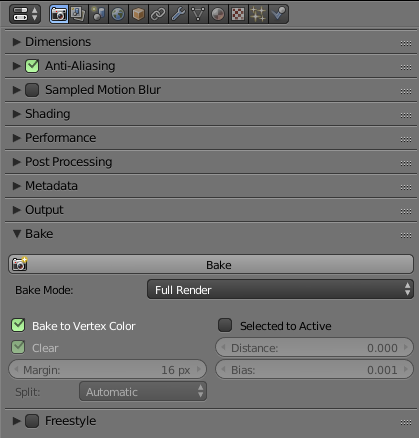
You can check this worked by switching to Vertex Paint mode.
Exporting using the RSD plugin
Make sure you apply transformations to your object before exporting.
In object mode, that's Ctrl + A, 'Location', 'Rotation & Scale'.
Ideally, your object should be at 0,0,0, and have X and Y dimensions of ~18 blender units.
Your object's front should point towards Blender's -Y axis (that's toward your eye by default).
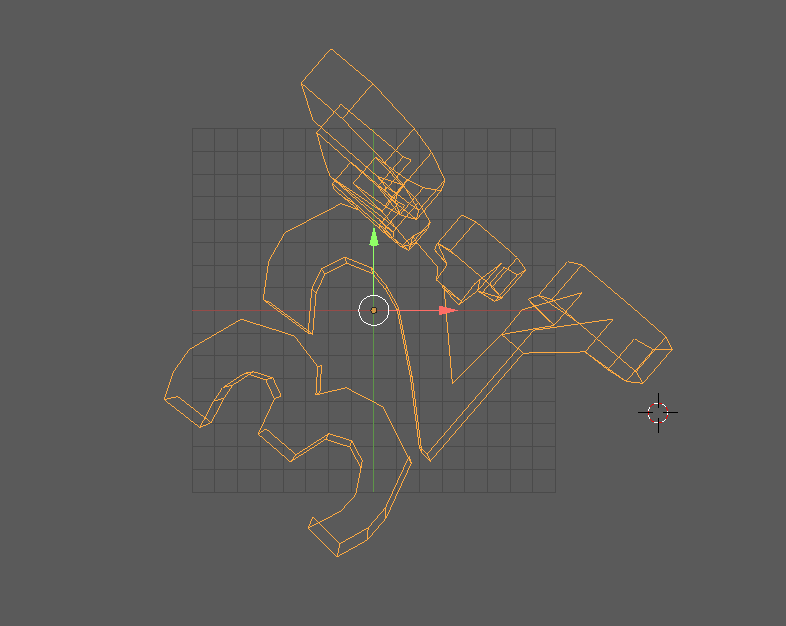
Then, export your object using Lameguy64's RSD plugin and proceed to the "RSD to TMD conversion" step.
Exporting using the DXF plugin
This method is not recommended as Color information is lost
Object orientation
The psx space coordinates is Y-UP, so you might have to make it so the top of your object points towards the positive Y axis in Blender (that's the green axis, pointing away from you).
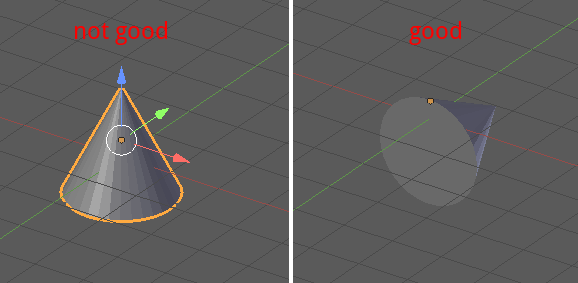
The key sequence to do that in Blender is Tab into edit mode, hit A key, hit R key, hit X key, hit -, 9, 0 then hit Enter.
-
Export from blender as dxf with the "Export Autocad DXF" plugin.
-
Use psyq's
dxf2rsd.exeutility with dosbox to convert the DXF to RSD using the-backoption to flip normals:DXF2RSD.EXE -o logo.rsd -back model.dxf -
Edit the RSD file with PsyQ's old
rsdtoolor use the modernsmxtoolto add colors and save as RSD.
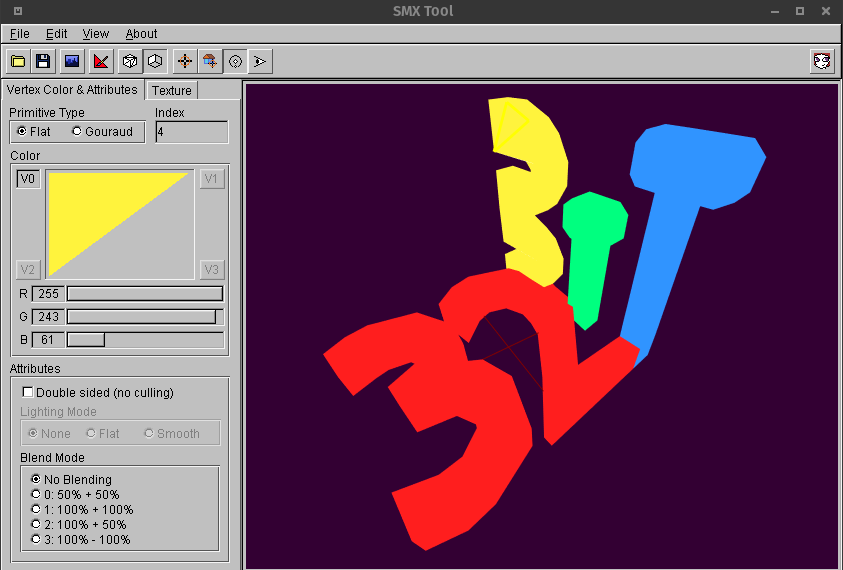
Checking the MAT file
You have to make sure the final .MAT file generated has every line's columns 2 to 4 look has these values ; 2 F C. E.g :
x 2 F C rrr ggg bbbx is the vertex index.
2 > 0x2 (0010) means 'Light-source calculations performed' and 'Double-faced polygon.'
F means flat shaded
C means color and rrr ggg bbb is the color value.
See the '[Flag]' section in http://psx.arthus.net/sdk/Psy-Q/DOCS/FileFormat47.pdf, p.56 for more details on these values.
RSD to TMD conversion
Convert the RSD to TMD using psyq's RSDLINK.EXE tool with dosbox :
RSDLINK.EXE -s XXX.X -o logo.tmd logo.rsdHere -s XXX.X is needed so that the model is scaled to the correct size.
The scale factor is not the same if you used DXF vs RSD export.
If using the DXF export plugin, scale factor is 240.0.
If using the RSD export plugin, scale factor is 60.0.
Patching the disk image
Patch your disk image with BootEdit.exe by selecting your bin file, then the new tmd file.
You can also change the license text; These are two 32 characters field with pre-determined spaces.
Apply the patch and voila !
Logos to download
You can download the TMDs and corresponding blend for logos I made here :
http://psx.arthus.net/homebrew/assets/boot_logos/


Tips and infos
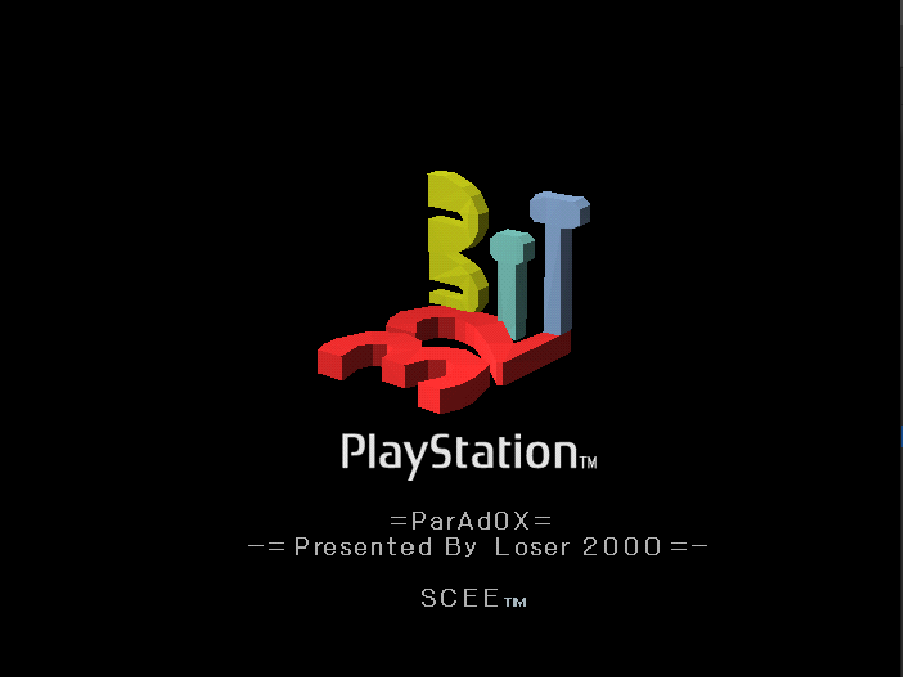
Original PSX logo
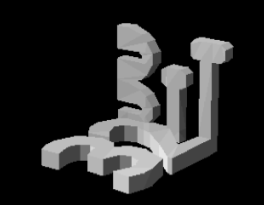
For reference, the original psx logo ranges from XYZ (-611, -775, -943) to (608, 231, 594) and has 560 triangles.

You can check a tmd file with the TMDINFO.EXE utility:
TMDINFO.EXE logo.tmdOriginal logo colors
The original colors in the logo are :
| Color | HEX | RGB |
|---|---|---|
| Green | 82D2C8 | 130, 210, 200 |
| Blue | 8BADD7 | 139, 173, 215 |
| Yellow | FBDF00 | 251, 223, 0 |
| Red | FF3232 | 255, 50 , 50 |
MAT file
To reduce filesize, one can use a range to specify color/shading/flags in one line :
0-256 0 F C 200 200 200 # Use light-source, flat shaded, grey for vertices 0 to 256This would result in a stylish grey logo...
Run Dos program from Linux CLI
You can ran a DOS program directly from CLI :
dosbox -c "rsdlink.exe -s 60.0 B:\input.rsd -o B:\output.tmd"Here, B:\ is mapped to the folder that contains the input and ouptu files :
In dosbox.conf 'z [autoexec] section :
MOUNT B ~/path/to/filesBash script
Here is a small bash wrapper to convert rsd to tmd :
#!/bin/bash

if [ "$1" == "-h" ] || [ "$1" == "" ]; then
    echo "Usage : rsd2tmd.sh scale output.tmd input.rsd"
fi

dosbox -c "rsdlink.exe -s ${1} -o B:\\$2 B:\\$3" -c "exit"
Converting TMD back to an OBJ file
A small java utility is available that can convert TMDs back to Wavefront OBJ files : https://github.com/ABelliqueux/tmd2obj.
Doc & Sources
- PSXDEV.net topic : www.psxdev.net/forum/viewtopic.php?t=156&sid=fa6e4327893620c1a1b5a5e548879685
- Original Darsel engineering tutorial : https://web.archive.org/web/20041229035553/http://www.fortunecity.com/greenfield/wolf/51/ETMDv10.htm - mirror : http://psx.arthus.net/docs/bootedit-tut-mirror.html
- TMD and RSD file formats are documented here : http://psx.arthus.net/sdk/Psy-Q/DOCS/FileFormat47.pdf, p.49
- Usage of PsyQ utitlies are documented here : http://psx.arthus.net/sdk/Psy-Q/DOCS/Devrefs/Dataconv.pdf p.81, 117 & 127